Have you ever felt insecure regarding Wi-Fi connection? We all sometimes think that, is there someone intruding. Well, that’s not a big deal. Whenever our internet speed seems to be declined we think someone is sharing our Wi-Fi. There’s nothing wrong in getting your connection checked. If you are also thinking about how to check your network, here’s a solution for you. Wifi WPS WPA Tester on PC!

Wi-Fi WPS WPA Tester is an application for Wi-Fi user which allows you to check intruders or vulnerability in your network. However, you have to use it properly to avoid any trouble. There are chances that your neighbors might have connected to your network. Check it on the WPA tester & block them. Track intruder/vulnerability & block it!
Features:
- More Pins, Brute Force Pins also added.
- It does not contain Ads
- You can hack routers like:
-Dlink
-Asus
-TrendNet
-AiroconRealtek
-Dlink+1
-FTE-xxx
-Belkin(root)
-EasyBox Arcadyan
-Arris
- You can copy Password and share it with your friends
How does it work?
WPS WPA Tester works on Black-hat method which is referred to as “Penetration or Brute Force”. Once the app is turned ON, it scans the network & displays whether the network is WPS or WPA. WPS WPA Tester older version was only supportive for Rooted device. However, Premium version is compatible for both. WPS WPA Tester Premium can also extract password.
WIFI WPS WPA Tester on Android:

If you have decided to use WPS WPA Tester & not Premium, you will require Busybox & a Rooted device. If you don’t want to root your device, you may opt for premium APK. Let’s discuss how to install Tester on Android. Just install busybox on your rooted device. Once the installation is done, open it & tap on refresh. You will be viewed the Wi-fi networks around you. Now, you will see a green lock icon. Just connect to the network you want to. A pop-up will occur asking password, just enter the same.

WPS WPA Tester might result a bit different on PC. For that, you will need an Android Emulator. So let’s discuss how to get it on PC.
Steps to use WPS WPA Tester in detail:
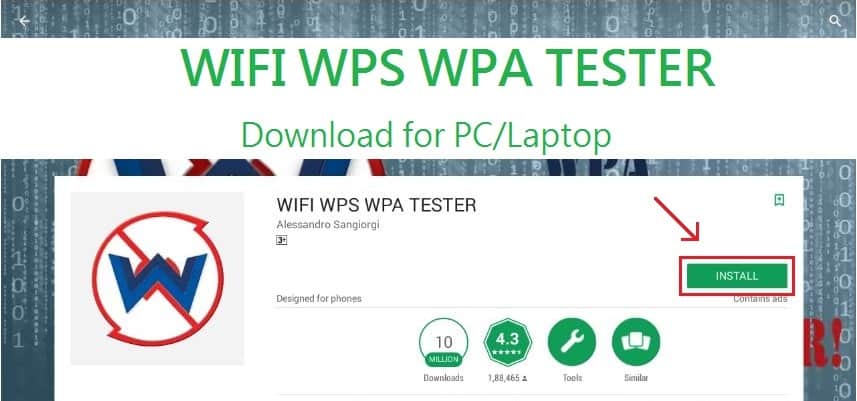
- You have to download and install the tester application from Google Play, or you can get it from the website.
- You have to sideload the application, or you can download from official website.
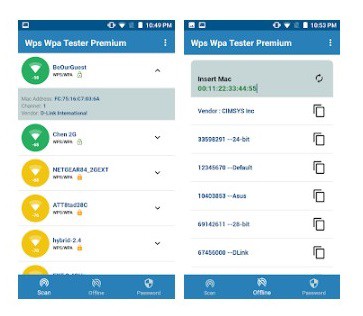
- After that, you have to open the WPS WPA tester and click on the refresh button to show the available networks. It will display all the Wi-Fi signals around you.
- It will show two color buttons beside a Wi-Fi network such as red and green.
- Red dots mean the Wi-Fi is protected, and it cannot be accessed whereas the green does mean you can access the Wi-Fi without any problem.
- You have to select the green one to begin access to the Wi-Fi.
- You have to click on the connect button to use the automatic pin button. It will not take too much time to connect with the Wi-Fi. You can scan any vulnerability with unauthorized access to the network.
- You can use the internet in the case of rooted Smartphone.
- Now, you are ready to go with the high-speed internet connection.
WPA WPS Tester on PC:
Unfortunately, there’s no official release for WPA WPS Tester for PC. However, there’s a method to get it on PC. For that, we need to download & install Android Emulator. The method is pretty easy & won’t require any expertise. There’s 1 method but we will explain to you how to install WPA WPS Tester & it’s Premium version too.

How to Download & Install Wi-Fi WPA WPS Tester on PC:
- Download & Install any Android Emulator you want. Few of the best are BlueStacks, NOX Player, KO Player, etc.
- Follow up the installation steps
- Now, sign in your Google ID/ Gmail ID or make a new one
- Once the sign in is done, you will have access to PlayStore
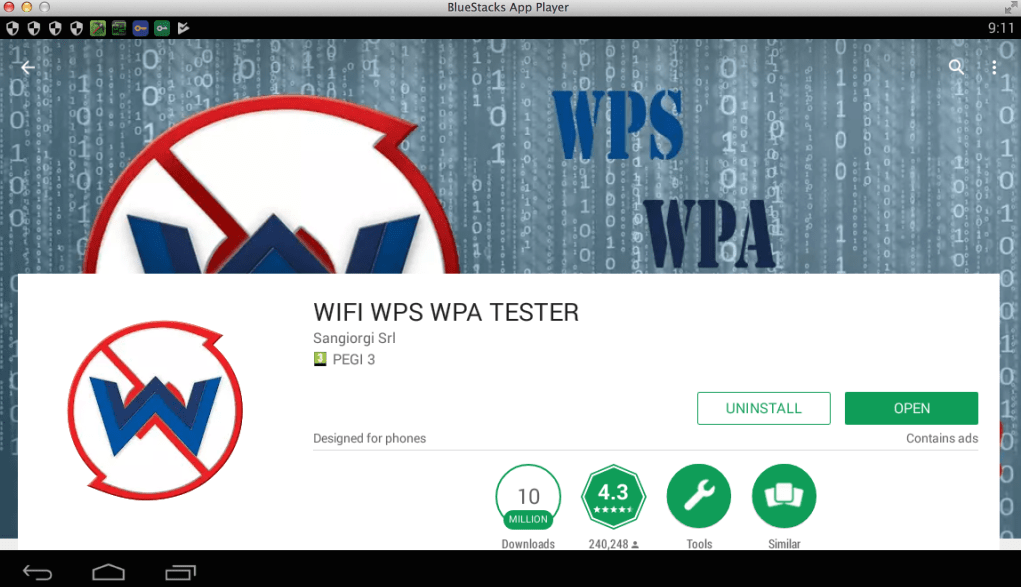
- Go to PlayStore & search “WIFI WPS WPA Tester”
- Install it!
- In order to make it work, you need to root it
- As it’s an Android Emulator, get Kingroot & root it.
- Now, use the app!
Another method is to download APK File from an external link or their official website:
Once the APK is downloaded, double-click on it!
How to download & install WPS WPA Tester on PC Premium:
- Download & Install any Android Emulator for your PC
- Follow up the installation steps
- Sign in your Google ID/ Gmail ID
- Download WIFI WPS WPA Tester from external links
- Once the APK is downloaded, double-click it
- The installation will automatically start.
Download steps:
- Go to the Mobo market on Chrome
- Search for WPS WPA Tester Premium
- Download it!
Conclusion:
This was all about WPS WPA Tester. There are 2 versions, 1 basic & 1 premium. Basic versions require a rooted device. However Premium doesn’t need such compatibility. But it’s all up to you which version you want to use. If you face any problem related to this post or any suggestion. Feel free to contact us via the Comment Section. So that’s all for today. STAY TUNED!
